Linux, AMD Ryzen 3900X, X570, NVIDIA GTX 1060, AMD 5700XT, Looking Glass, PCI Passthrough and Windows 10
In the former two parts we’ve prepared everything that we are now able to install Windows 10.
I used virt-manager to create the Windows 10 VM. Here are a few screenshots and comments how I installed Windows 10. So start virt-manager. Click File menu and New Virtual Machine. This will get you this screen:
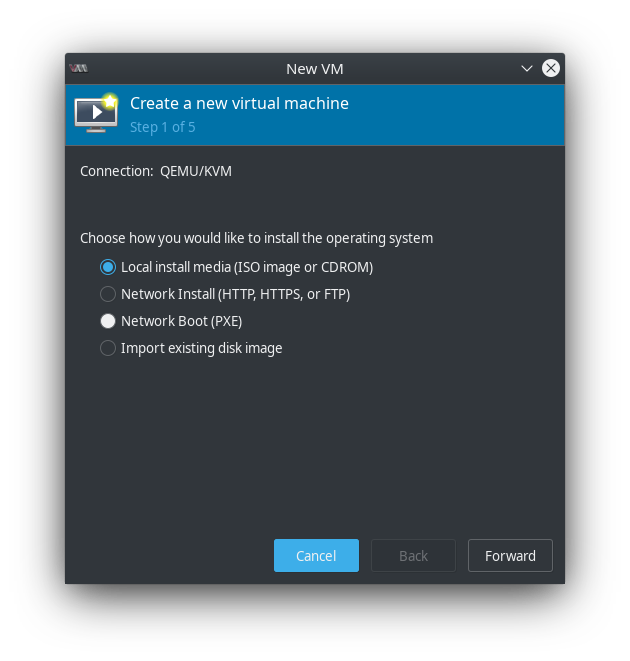
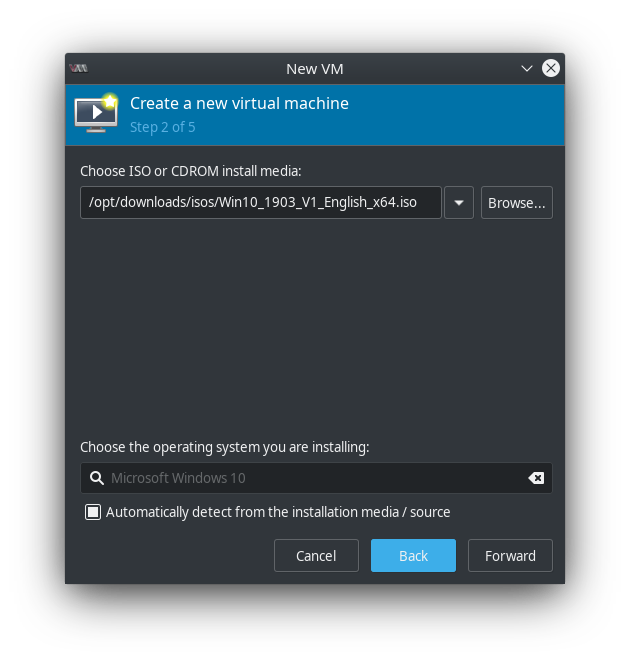
Choose Local install media and click Forward. In the next screen browse for the Windows 10 ISO file we downloaded already in one of the former parts and click Forward.
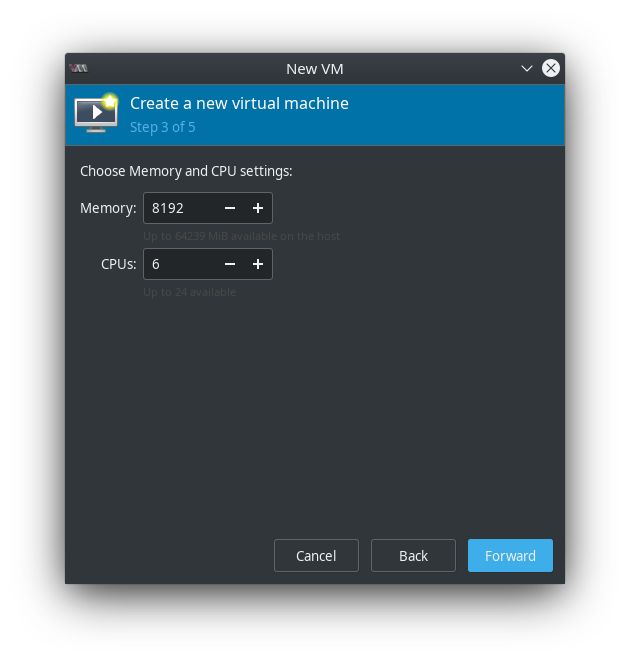
In the next windows set your desired memory size and CPU count. If you want use Windows for gaming I would recommend at least 8 Gbyte (8192 Mbyte) but it’s up to you. As my AMD Ryzen 3900X has 12 cores I assign half of them to Windows:
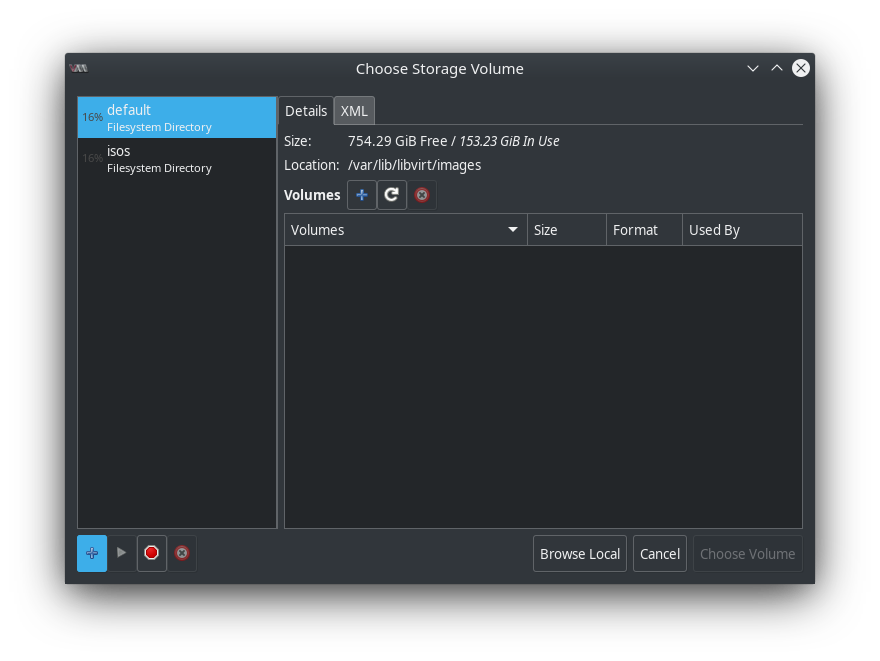
Next we need some disk storage for our Windows VM. As already mentioned in part 1 I’ll dedicate one of my two NVMe drives solely to Windows for performance reasons. So click + on the lower left to add a new storage pool:
Give the storage pool a name, select disk: Physical Disk Device as Type. This basically passes the disk “as is” to Windows (raw device). Therefore I insert the device path in Source Path field. It’s also possible to use the /dev/disk/by-id/... path of course.

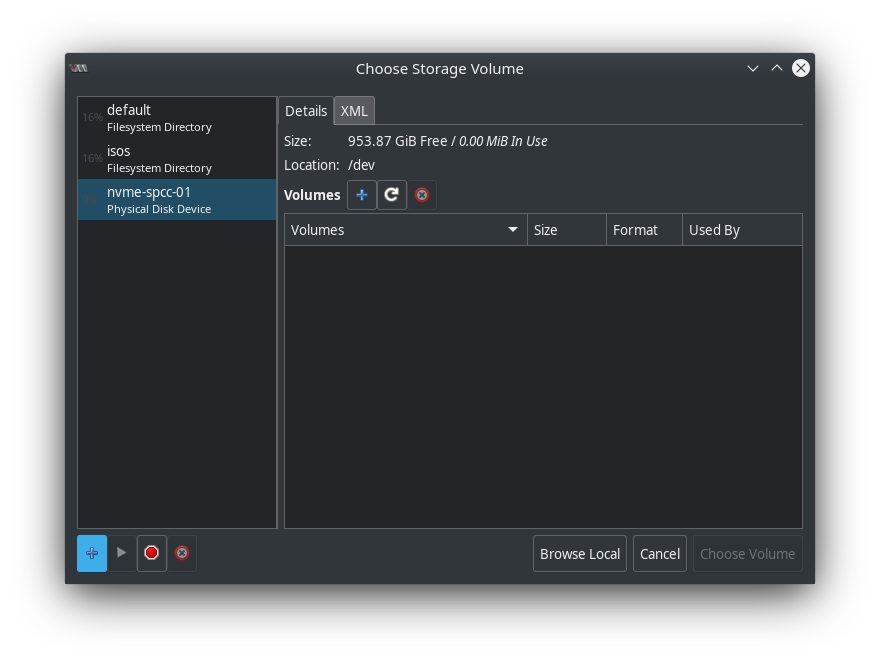
If you click Finish you should see the new storage pool on the left side. Now we create a Volume that is as big as the storage pool. Click on + on the right side of the Volumes label:
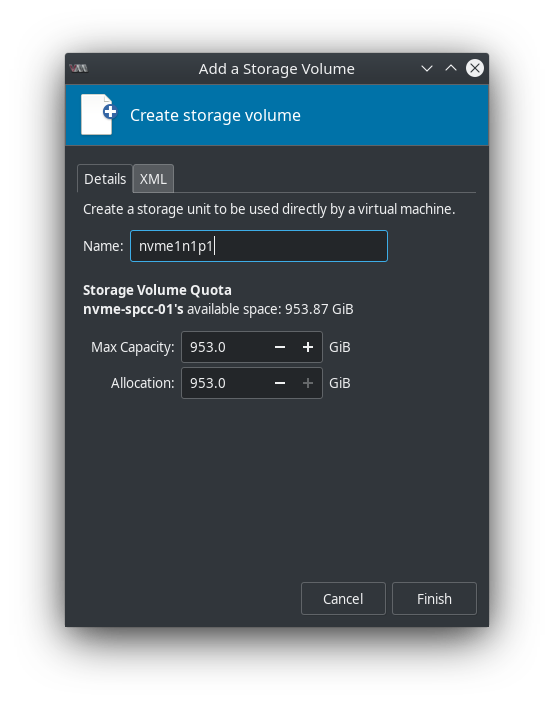
The volume name should be the name of the device + p1 (for partition 1). So my device is called nvme1n1 and if we add p1 we get nvme1n1p1. Somehow virt-manager insisted on this convention… For Max Capacity and Allocation I used the whole size of the disk:
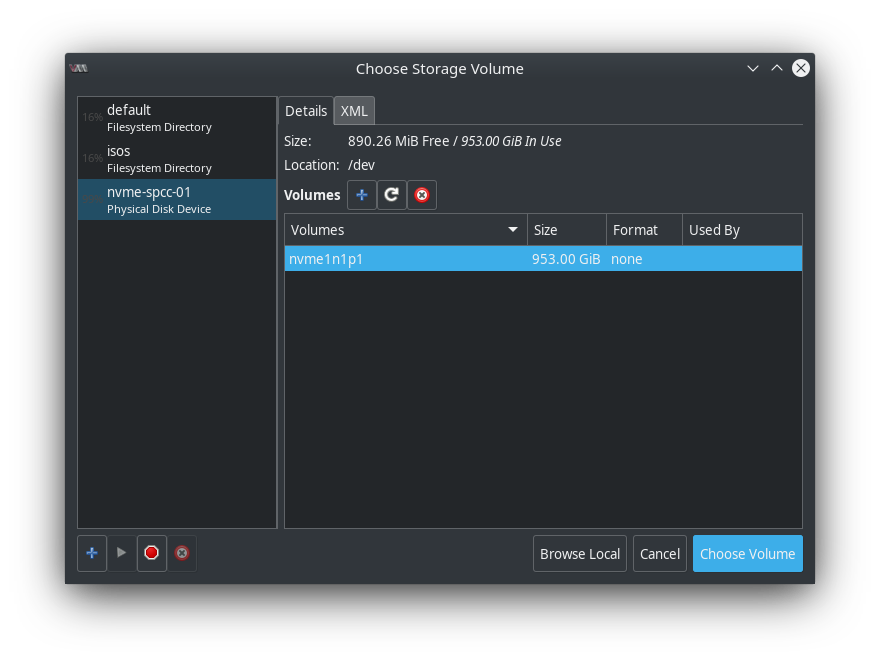
Selecting the new volume and pressing Choose Volume brings us to the next window:
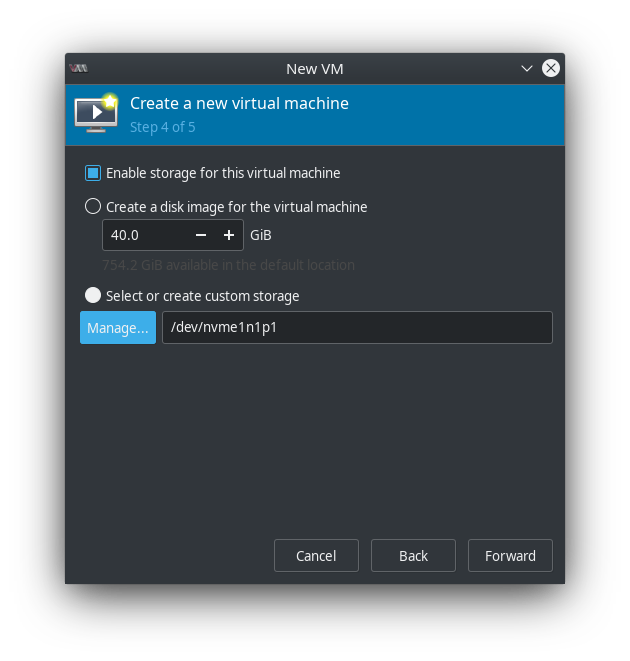
We choose Select or create custom storage and choose the volume we just created:
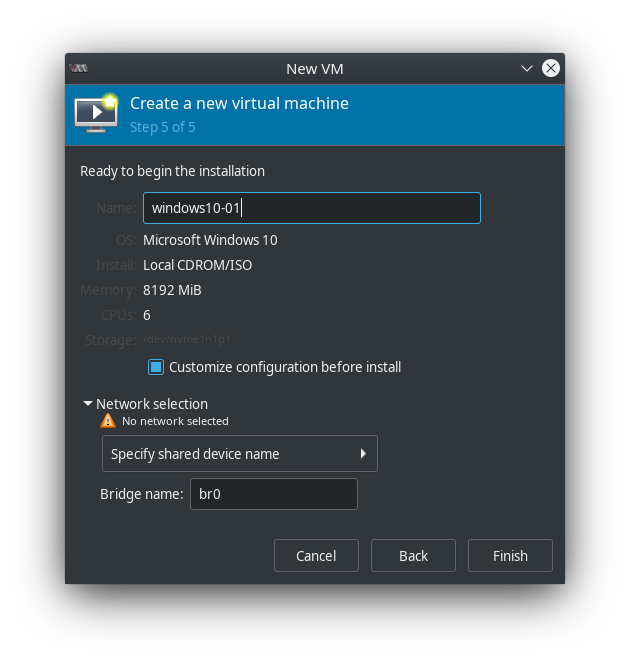
Finally enter a name for your VM. Important: Select Customize configuration before install! Since I’m using a network bridge I also change the Network selection, select Specify shared device name and entered my Bridge name which is br0 in my case:
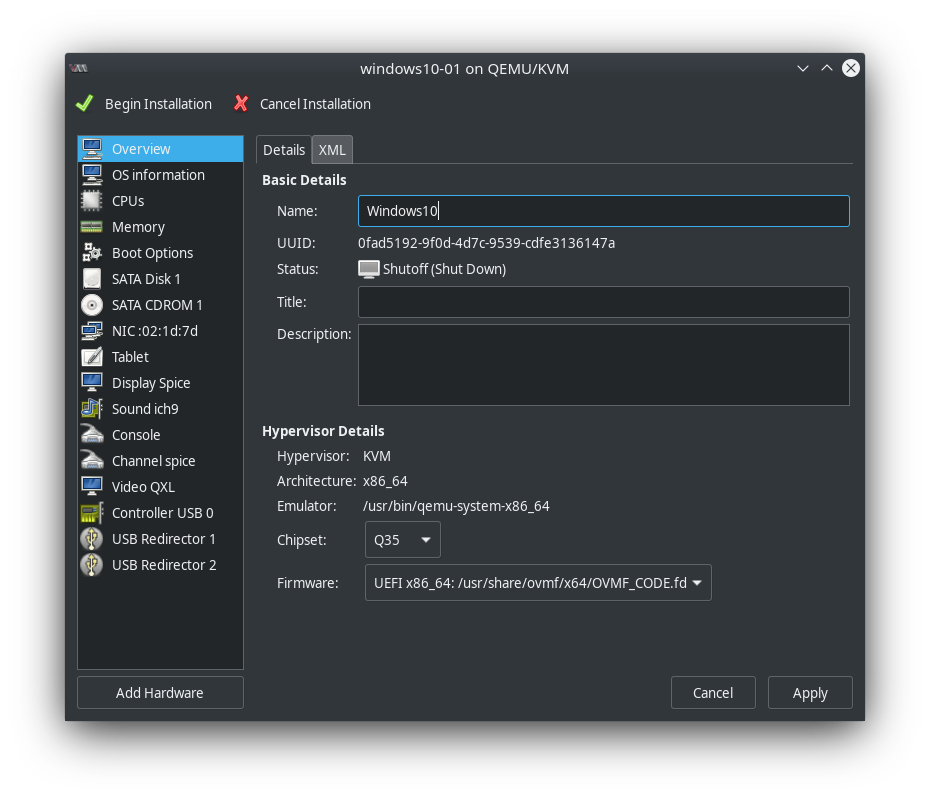
This brings us to the overview what is configured so far. Important: In Firmware choose the UEFI BIOS. (Hint: If that is grayed out maybe you hit this bug: https://bugs.archlinux.org/task/64175).
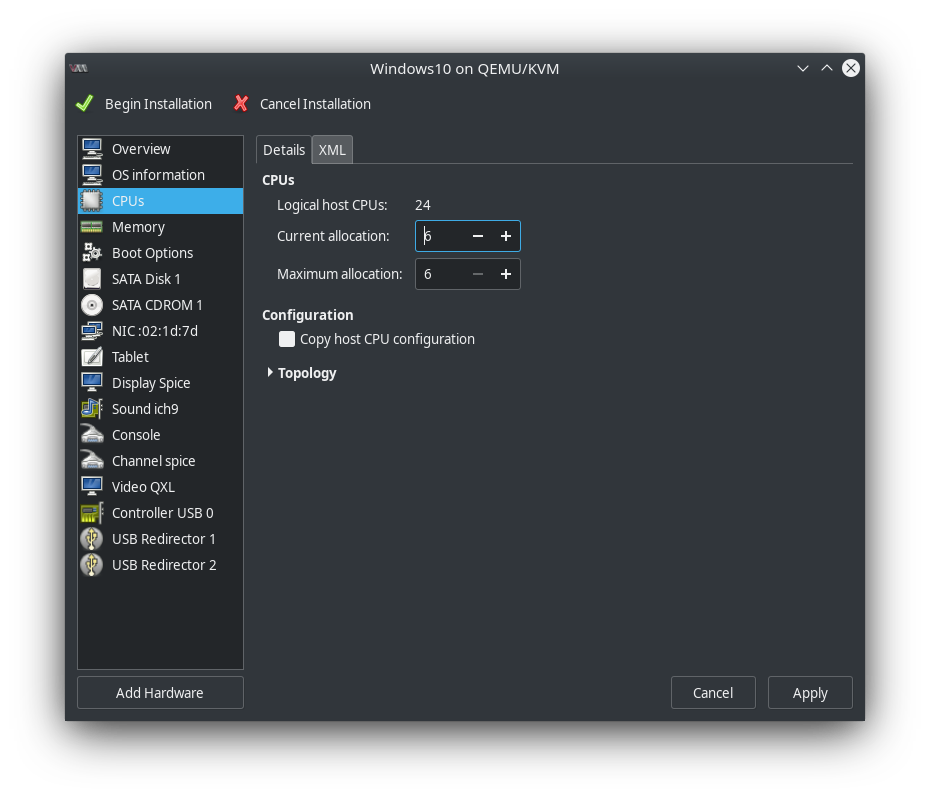
Make sure that you select Copy host CPU configuration in CPUs:
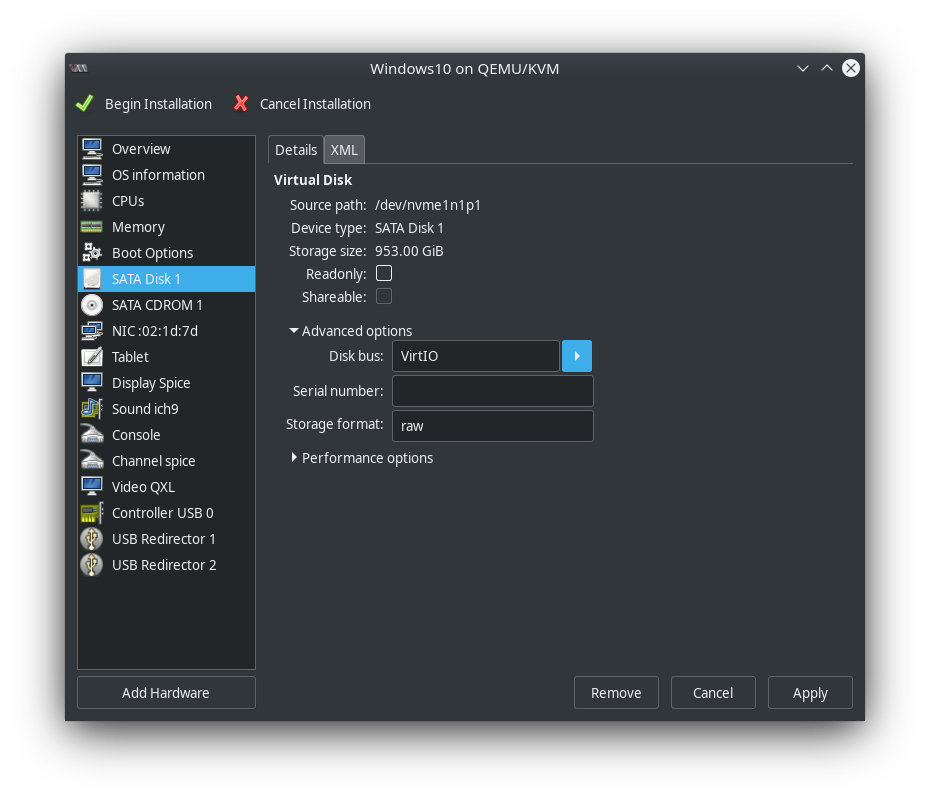
In SATA Disk 1 I also already changed the Disk bus to VirtIO for max. disk performance. We’ll add the required driver during Windows installation:
In NIC ... (your ID might be different) I again choose Specify shared device name and also enter br0 for Bridge name. Also change Device model to virtio for max network performance. We’ll install this driver after Windows is installed:

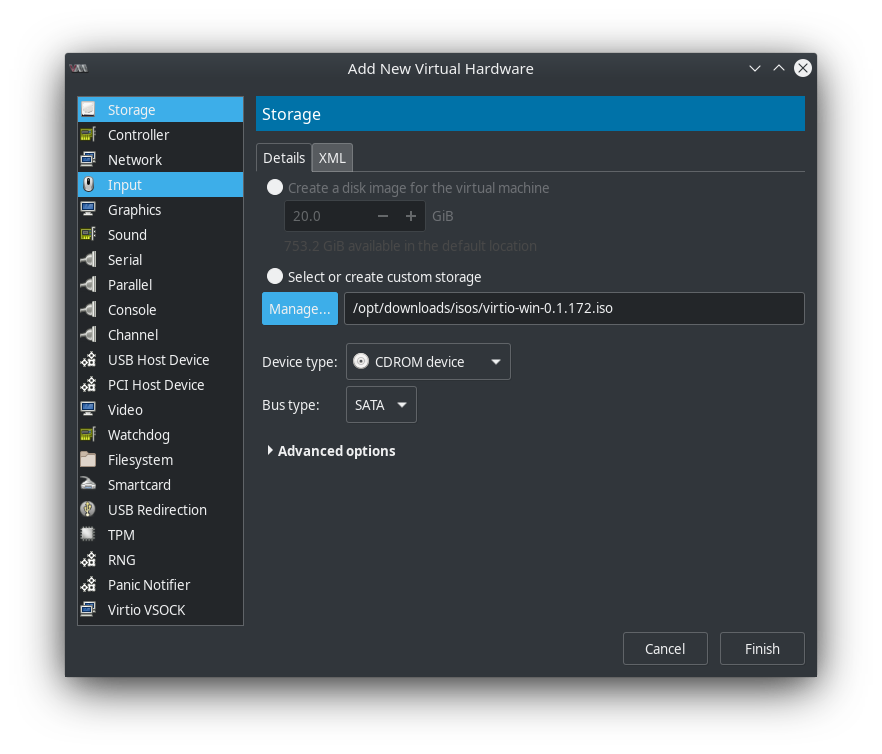
At the lower left corner click Add hardware and add a Storage device. The Device type is CDROM device. Add the virtio-win-0.1.172.iso (you may have a newer version). This is important as it contains the virtio drivers:
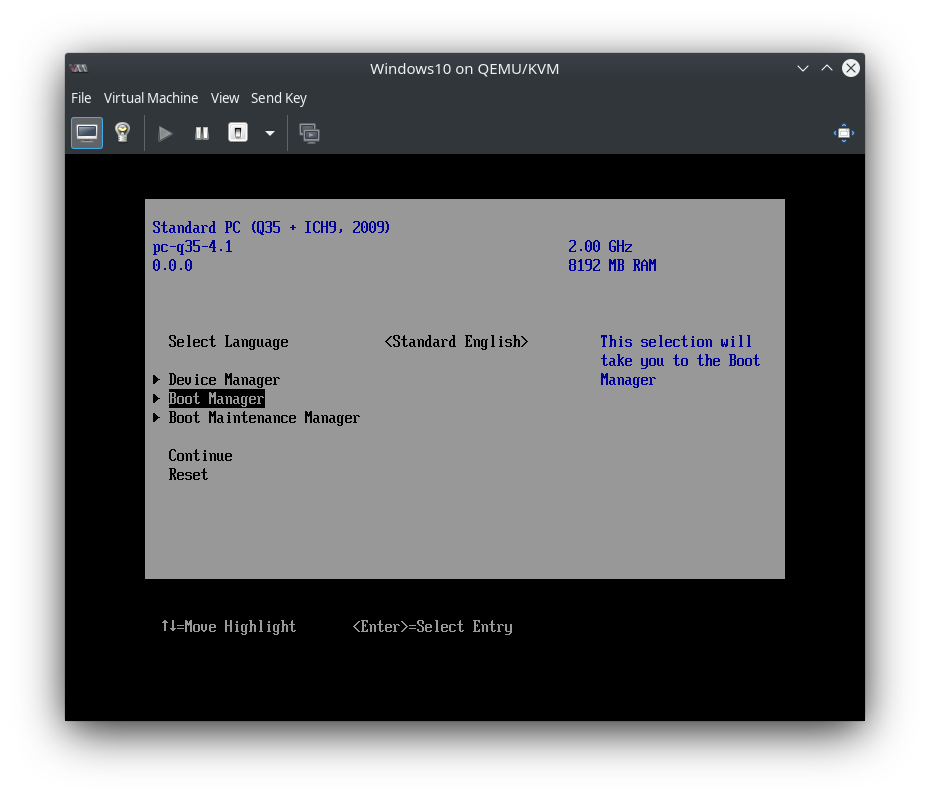
Now you can press Begin Installation on the upper left corner. This will bring you into the UEFI shell. Just type exit if you land there if the command prompt appears. Select the Boot Manager entry:
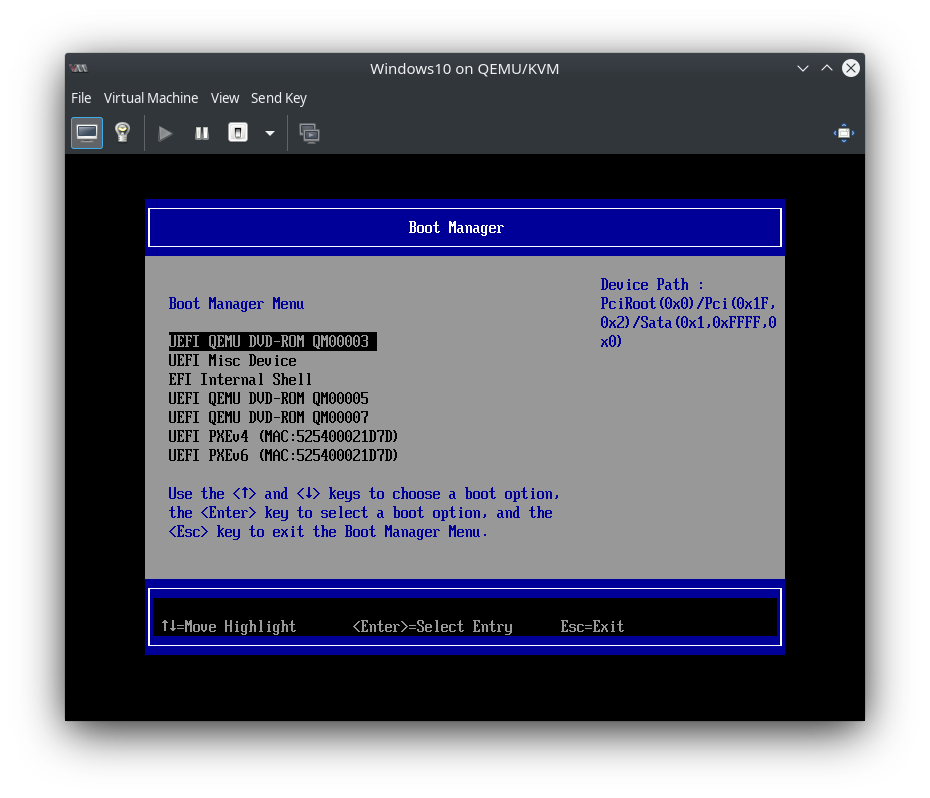
The first entry UEFI QEMU DVD-ROM QM00003 in my case is the Windows 10 CDROM (or better the Windows 10 ISO we mounted). Choose it and press “enter”:
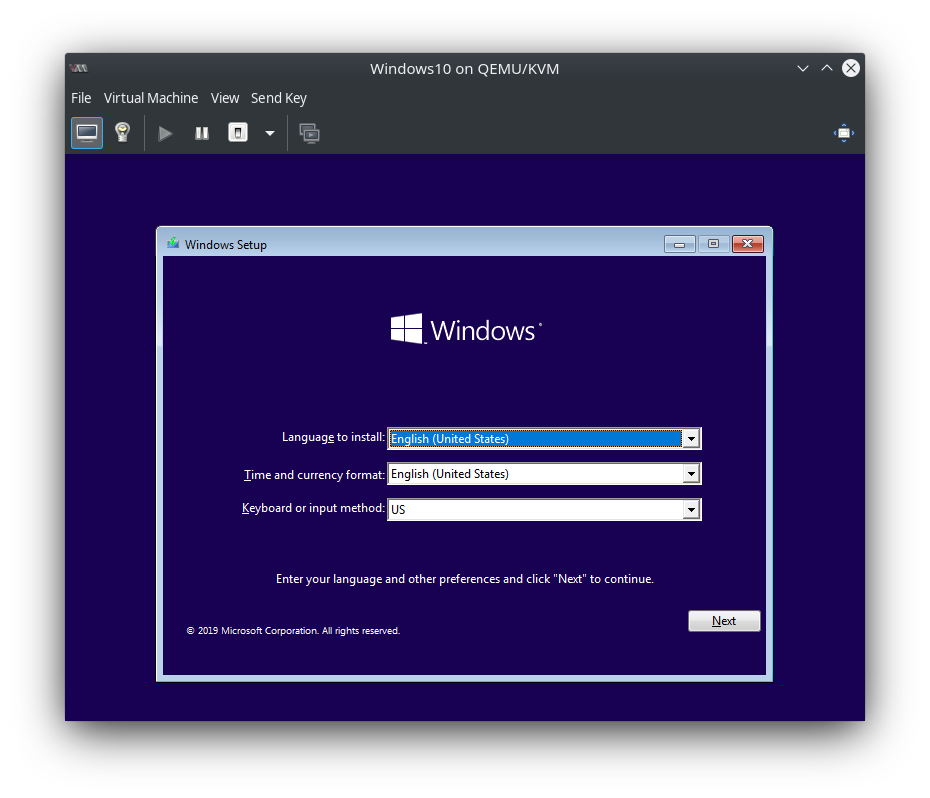
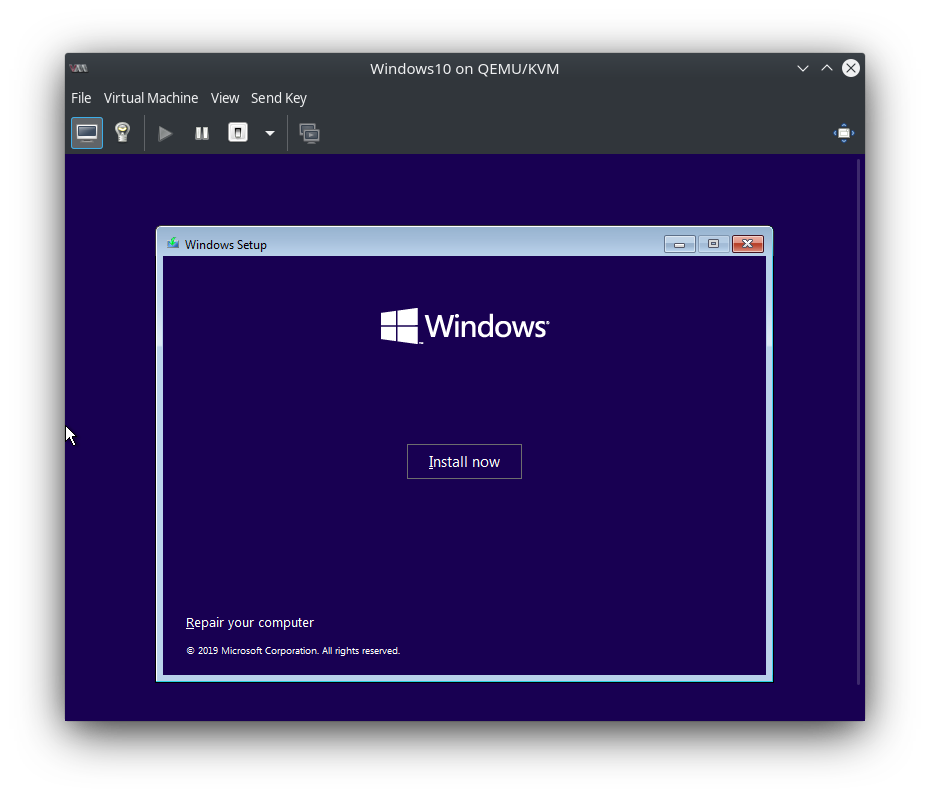
This starts the usual Windows 10 installation procedure:
Yes, we want to install - well ok, I was forced by dark forces to install it :D :
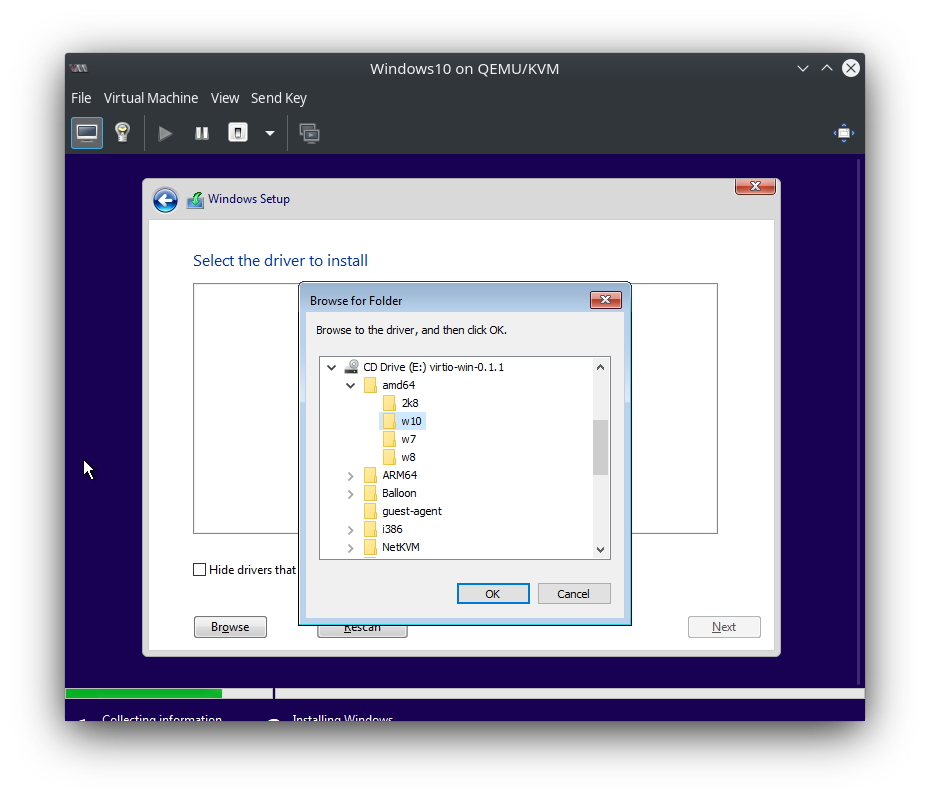
Now Windows has problems detecting the hard disk. Since I changed the Disk bus for SATA Disk 1 to VirtIO above we need the driver accordingly now. As we mounted the driver CD also we can open it now and select the amd64/w10 folder:
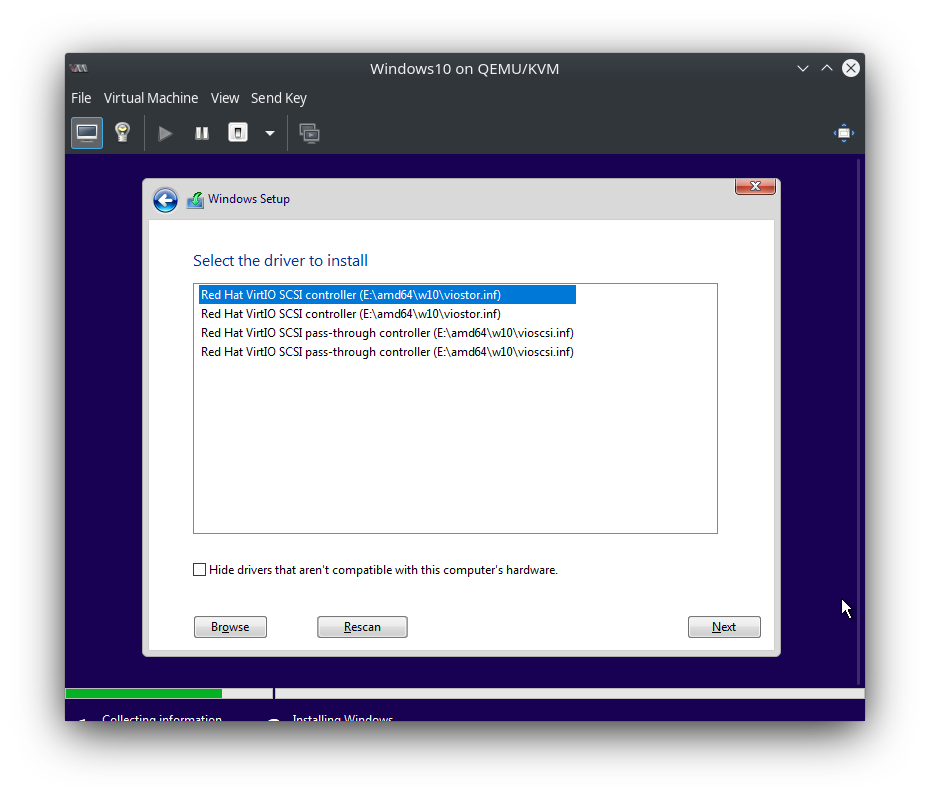
Select the first entry in the next screen:
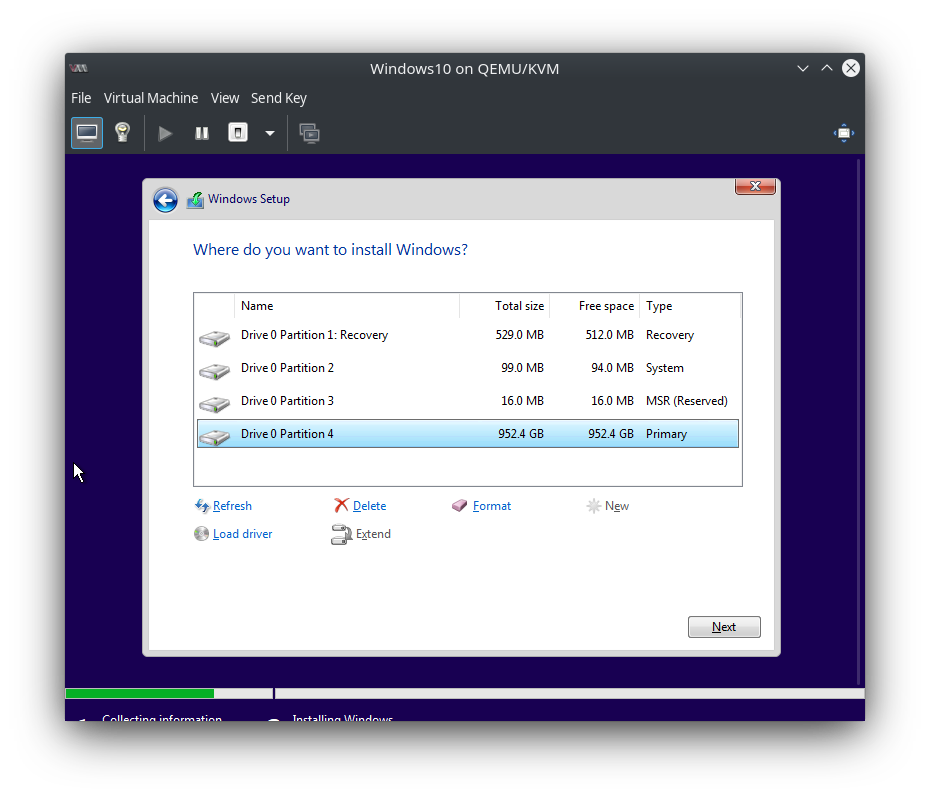
Now it’s possible to setup the disk. Click New. I just used the whole space:
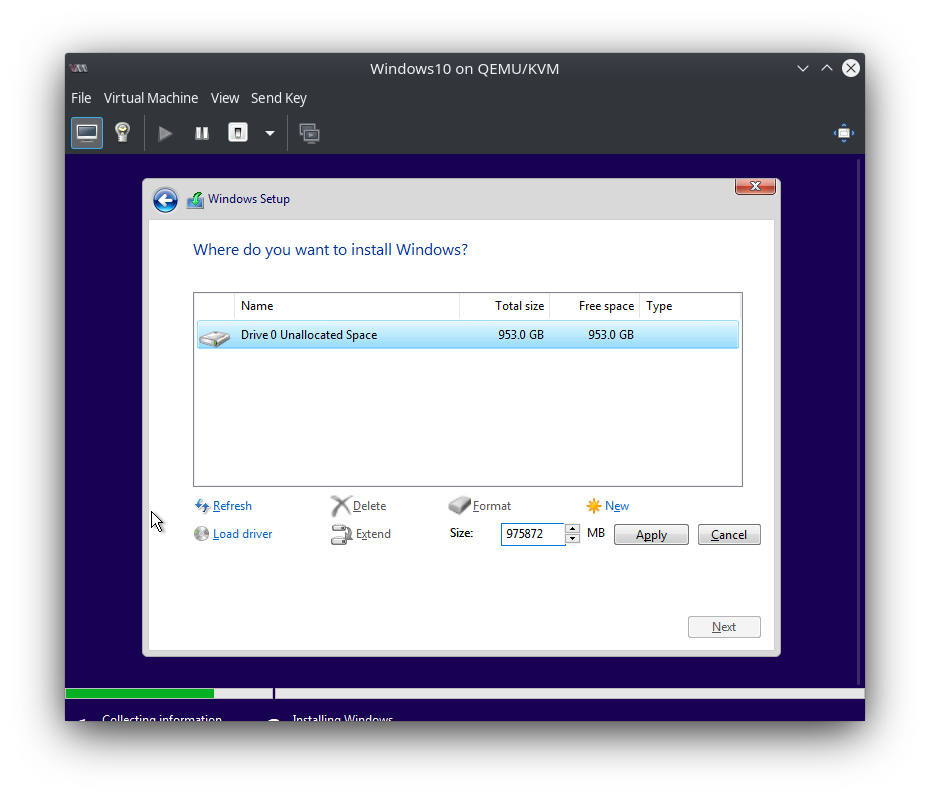
Windows will create a few additional partitions. Just leave it as is:
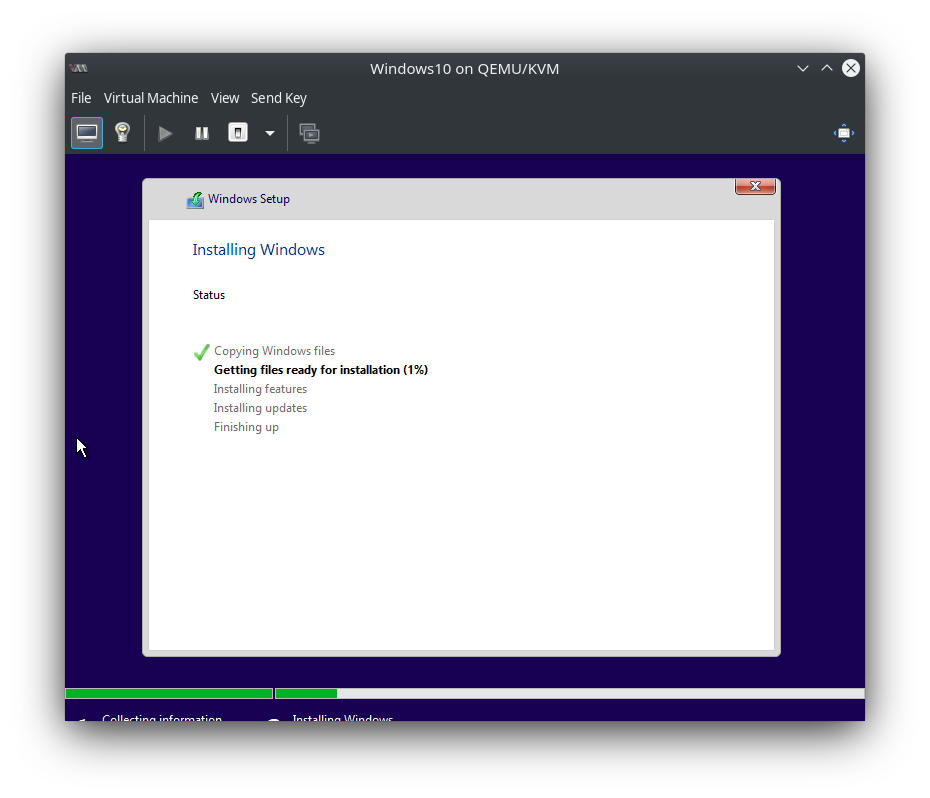
Now installation is starting:
If the installation is done Windows will reboot:
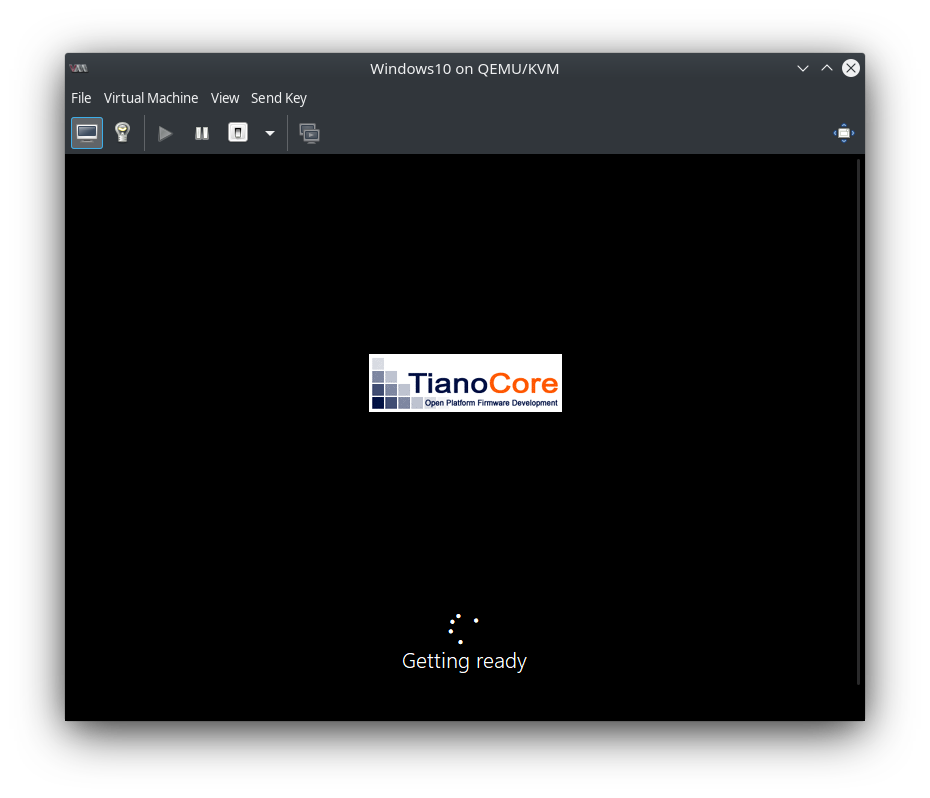
It takes a little bit:
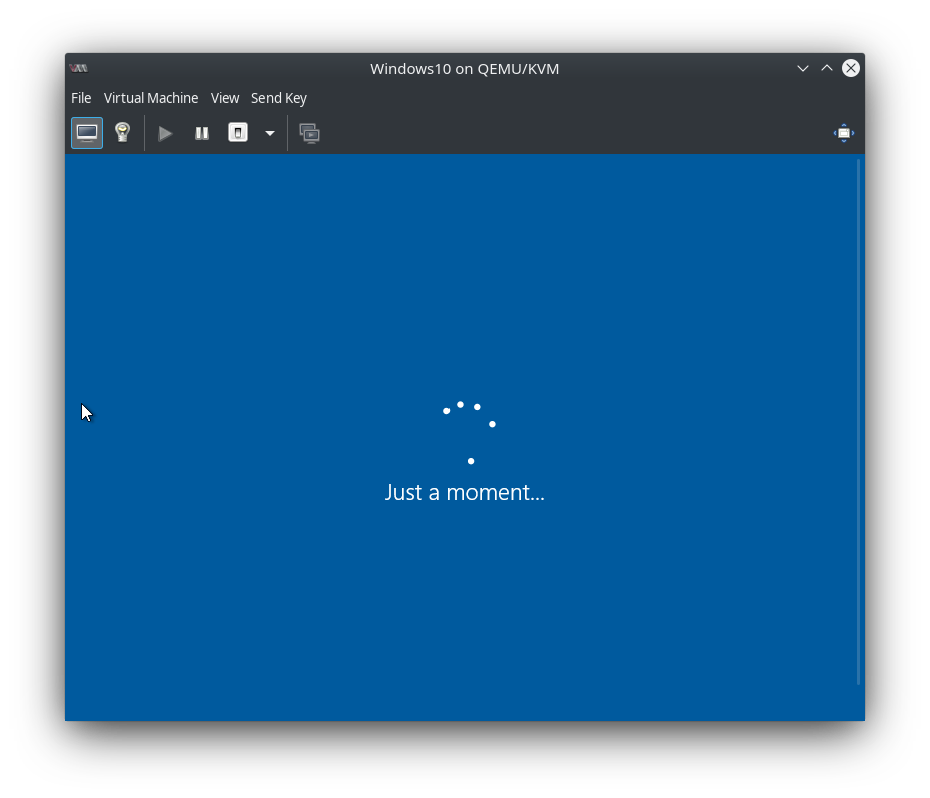
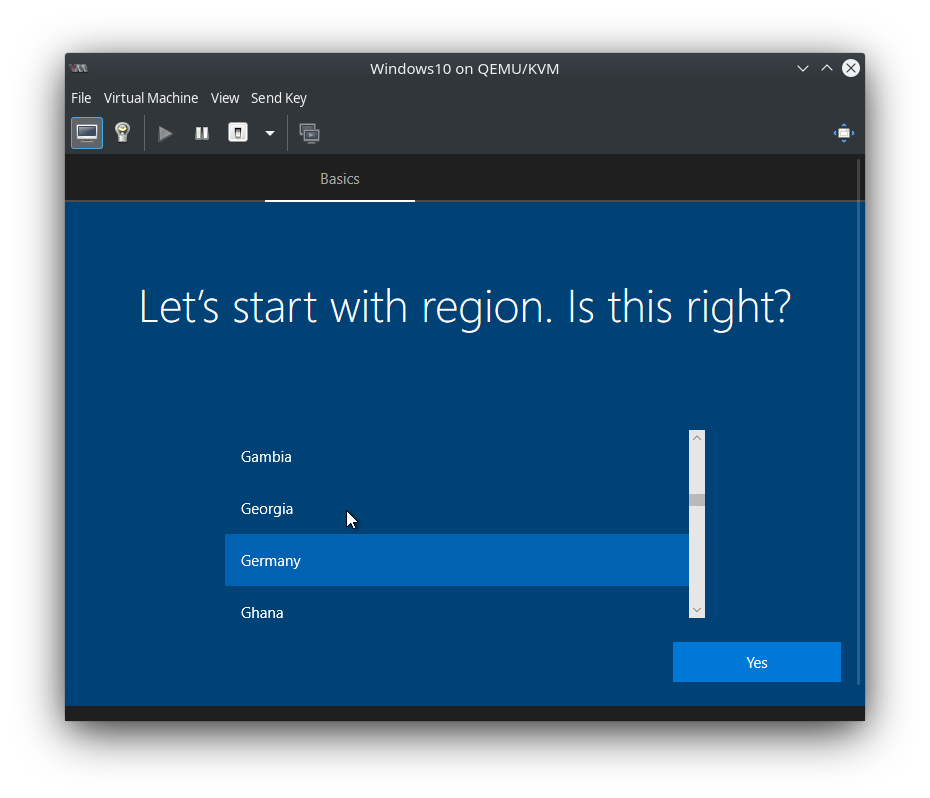
Choose your region:
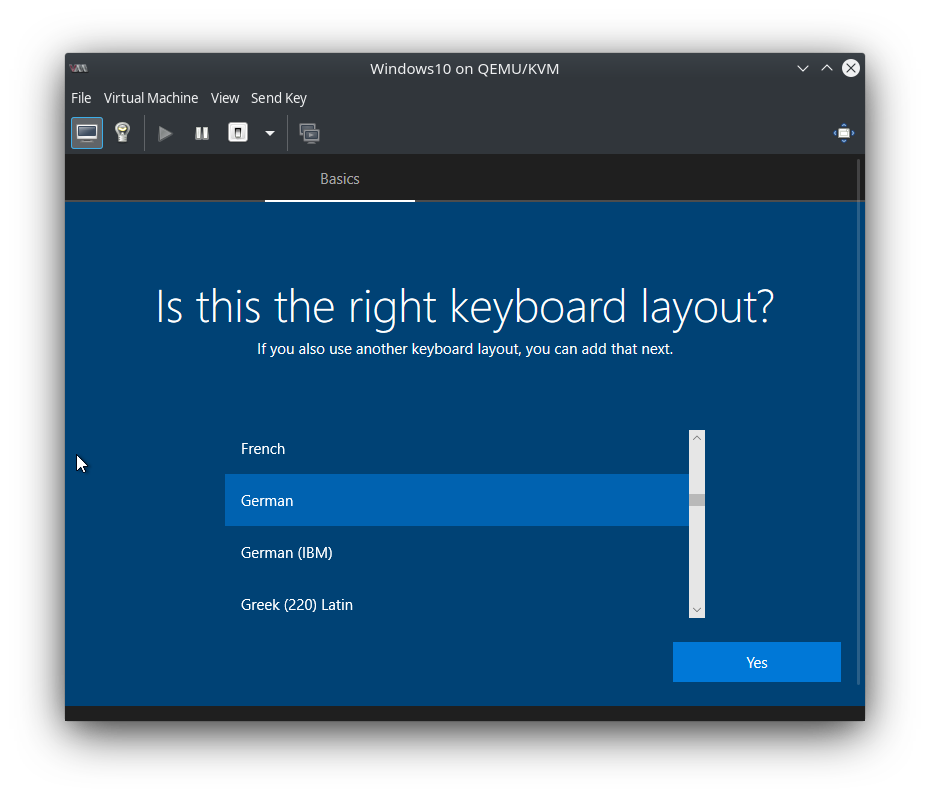
Choose your keyboard layout:
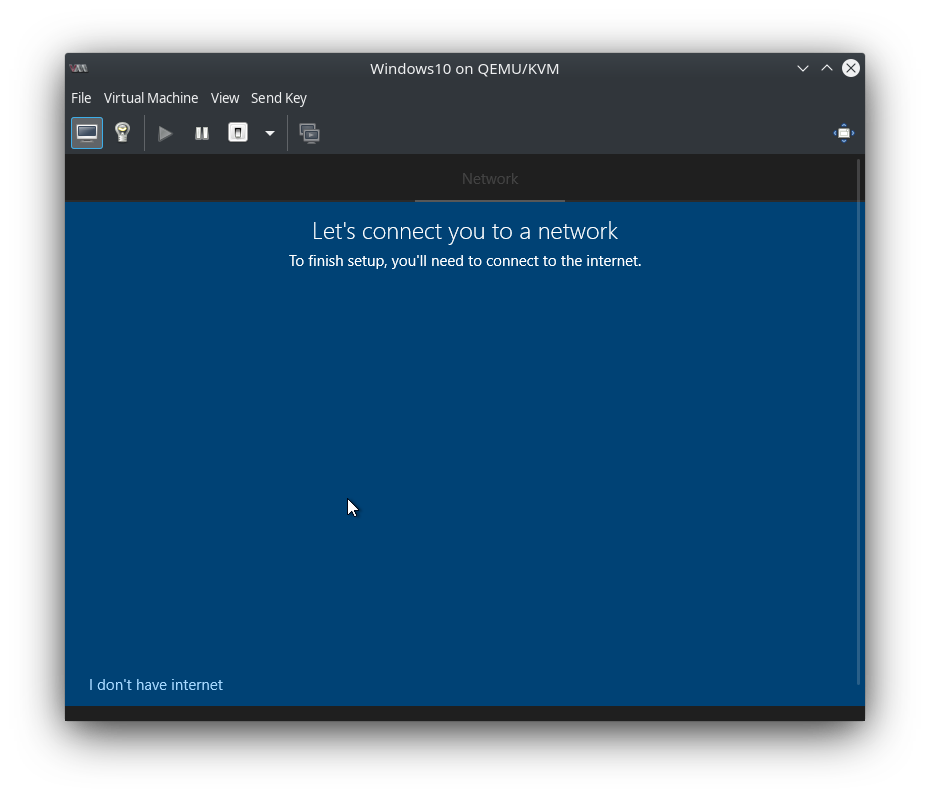
Network won’t work at this time as the network VirtIO driver is missing. Just click I don't have internet on the lower left. The driver will be installed later:
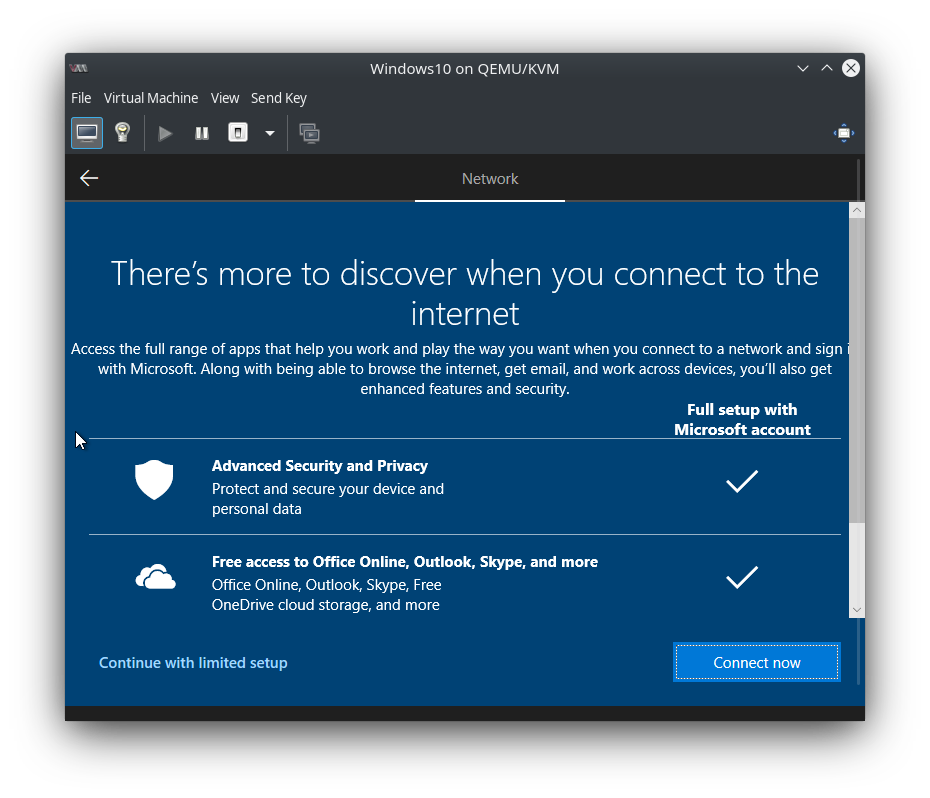
Click Continue with limited setup on the lower left:
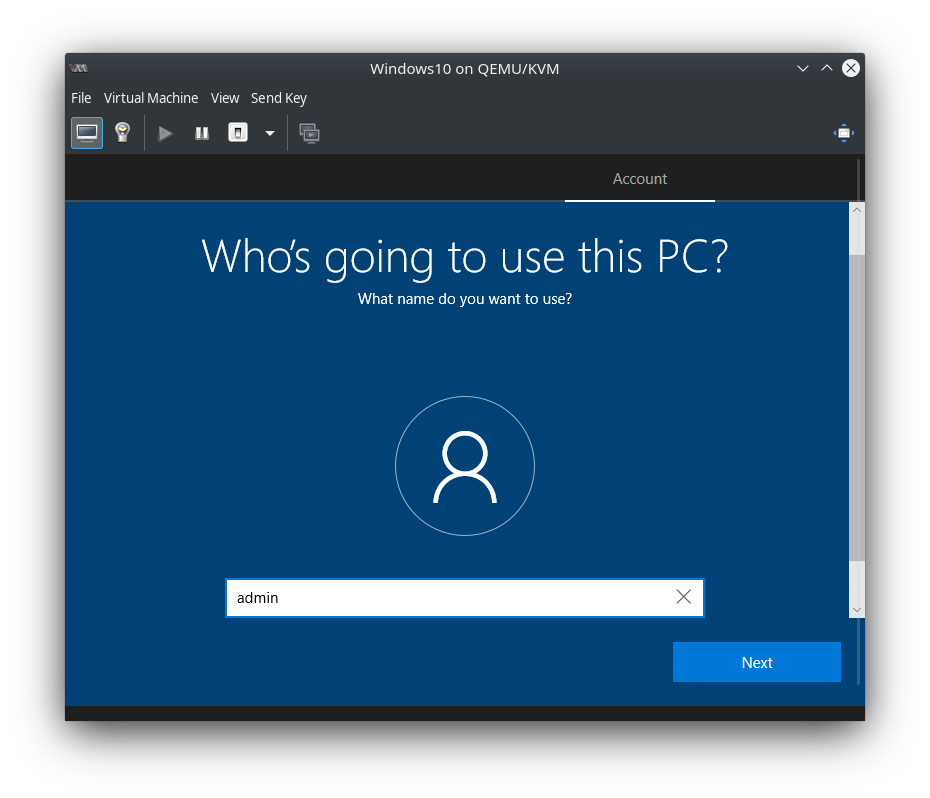
I always create a admin user at first and if everything is running I create a separate “normal” user for daily use with limited permissions:
Now Windows is finalizing the installation:
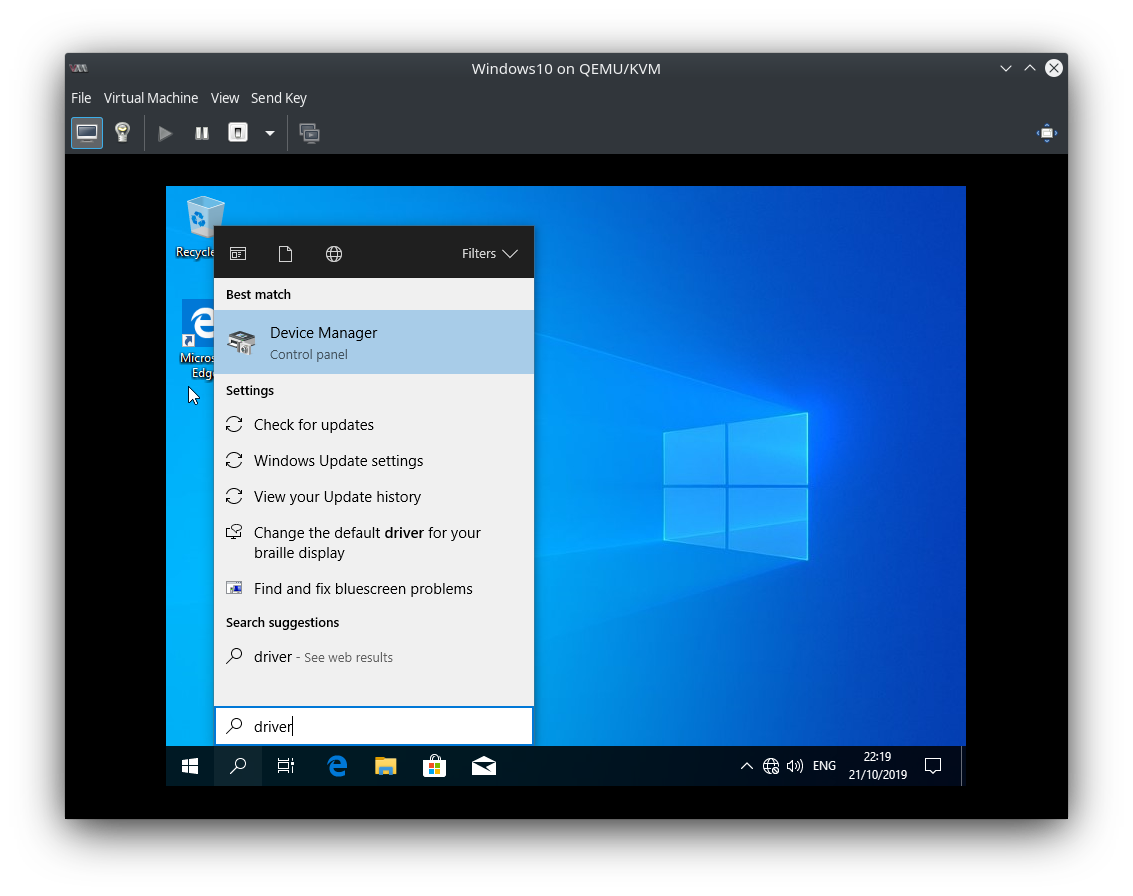
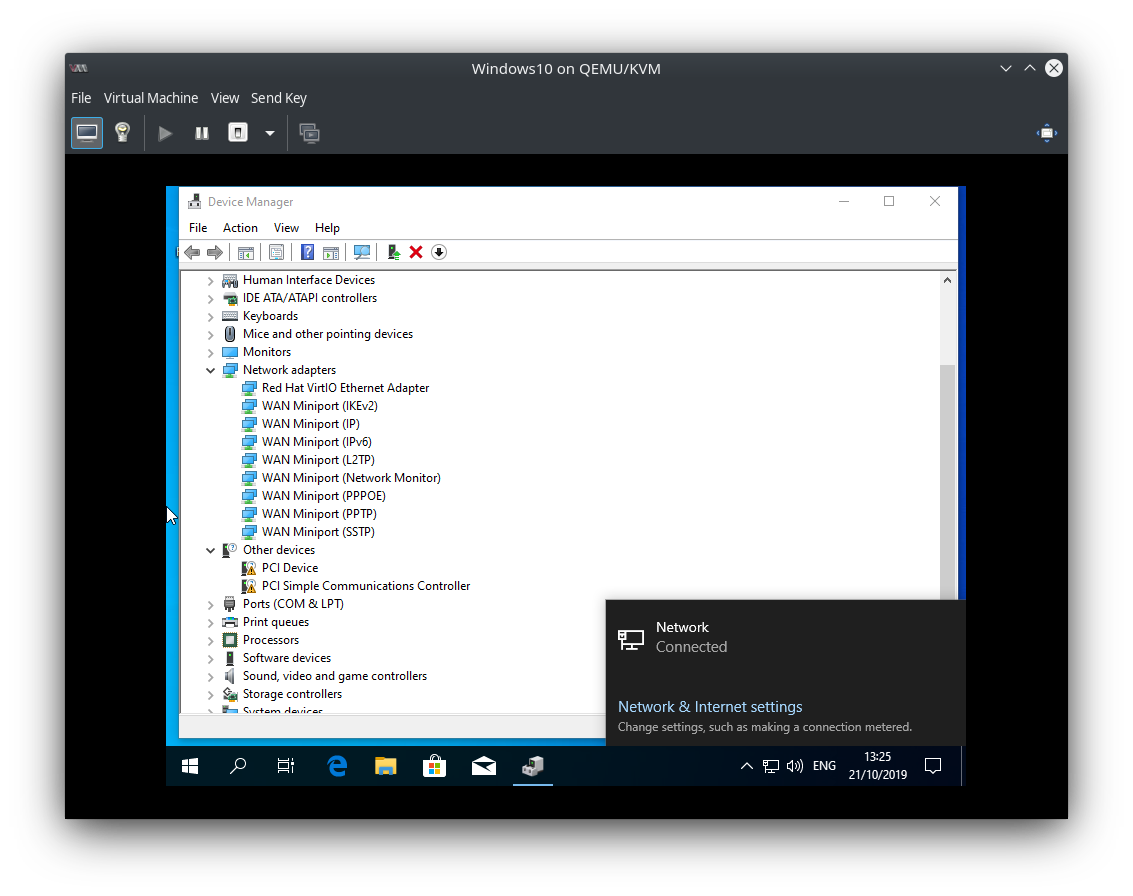
When Windows is up it’s time to setup the missing driver. Search for Device Manager and open it:
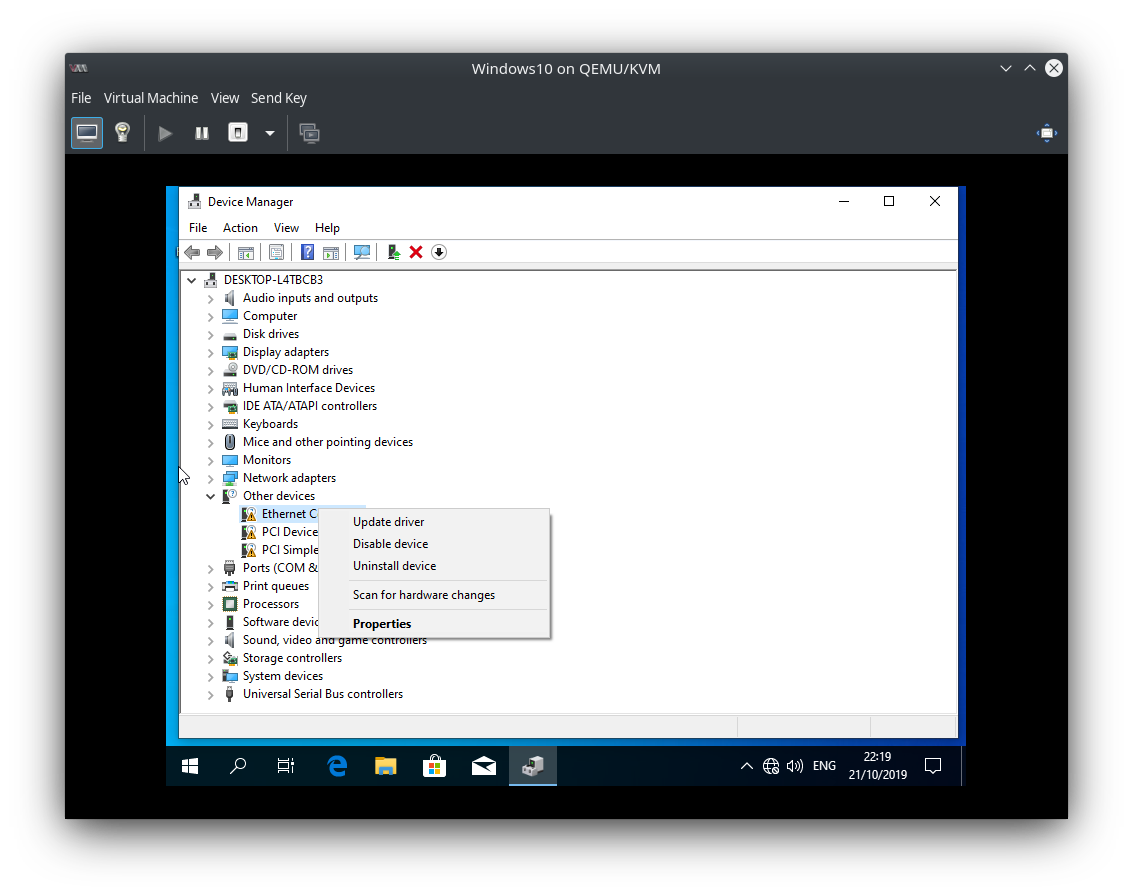
In Other devices you see the devices that are not configured because of missing drivers:
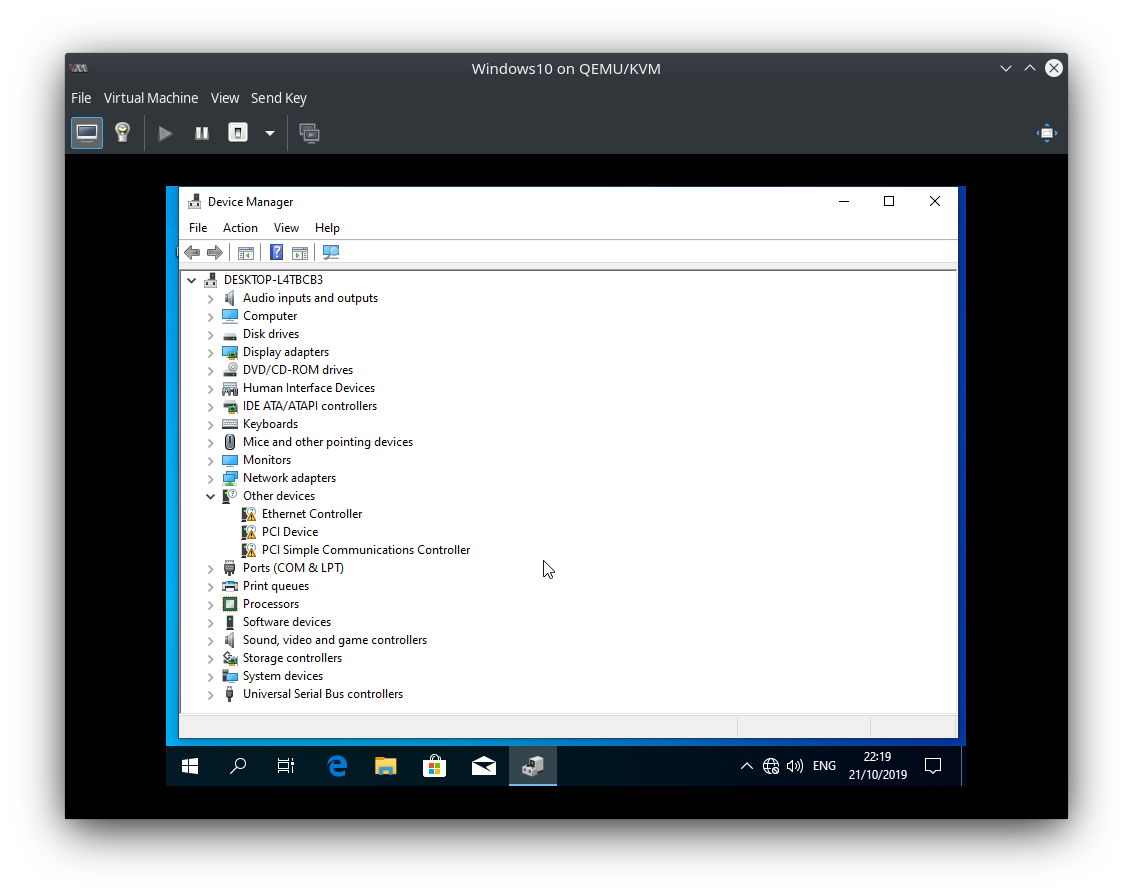
First right click on Ethernet Controller and select Update driver:
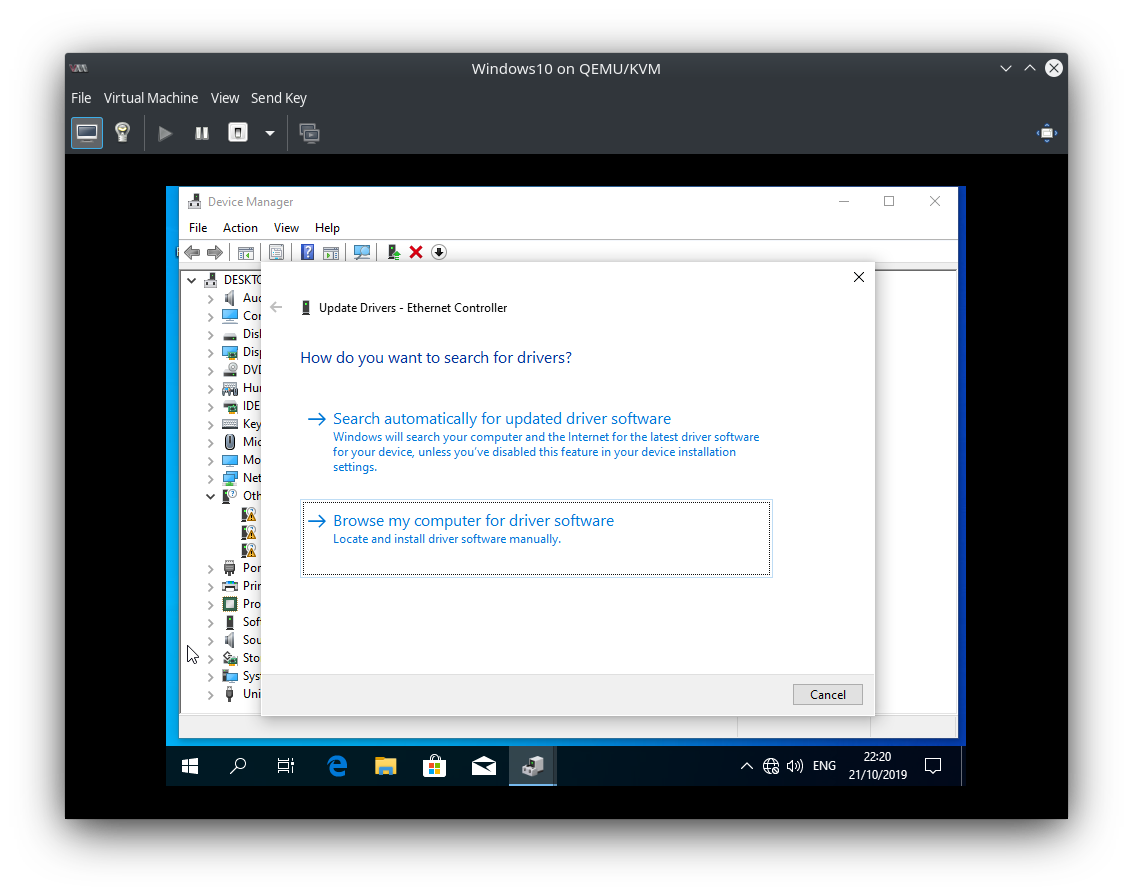
Choose Browser my computer for driver software:
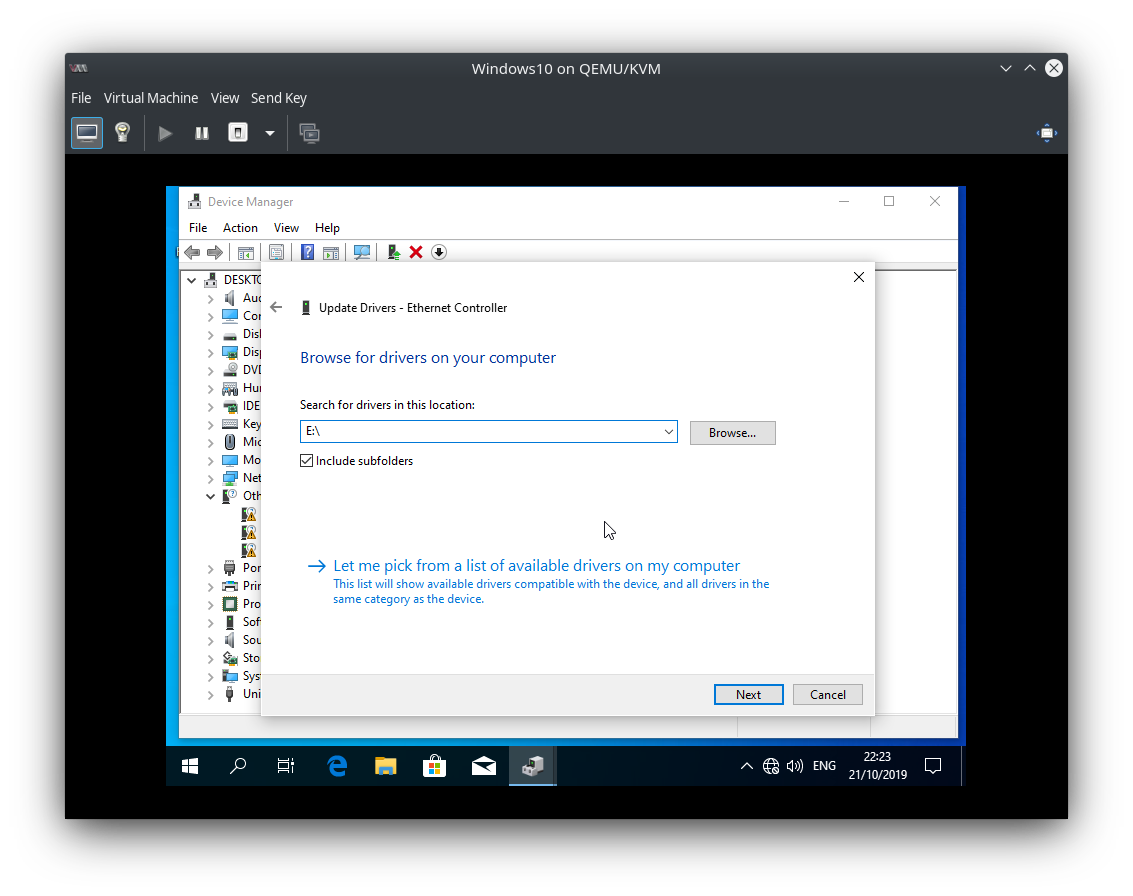
Select the CDROM with the drivers again. Make sure that Include subfolders is selected and click Next:
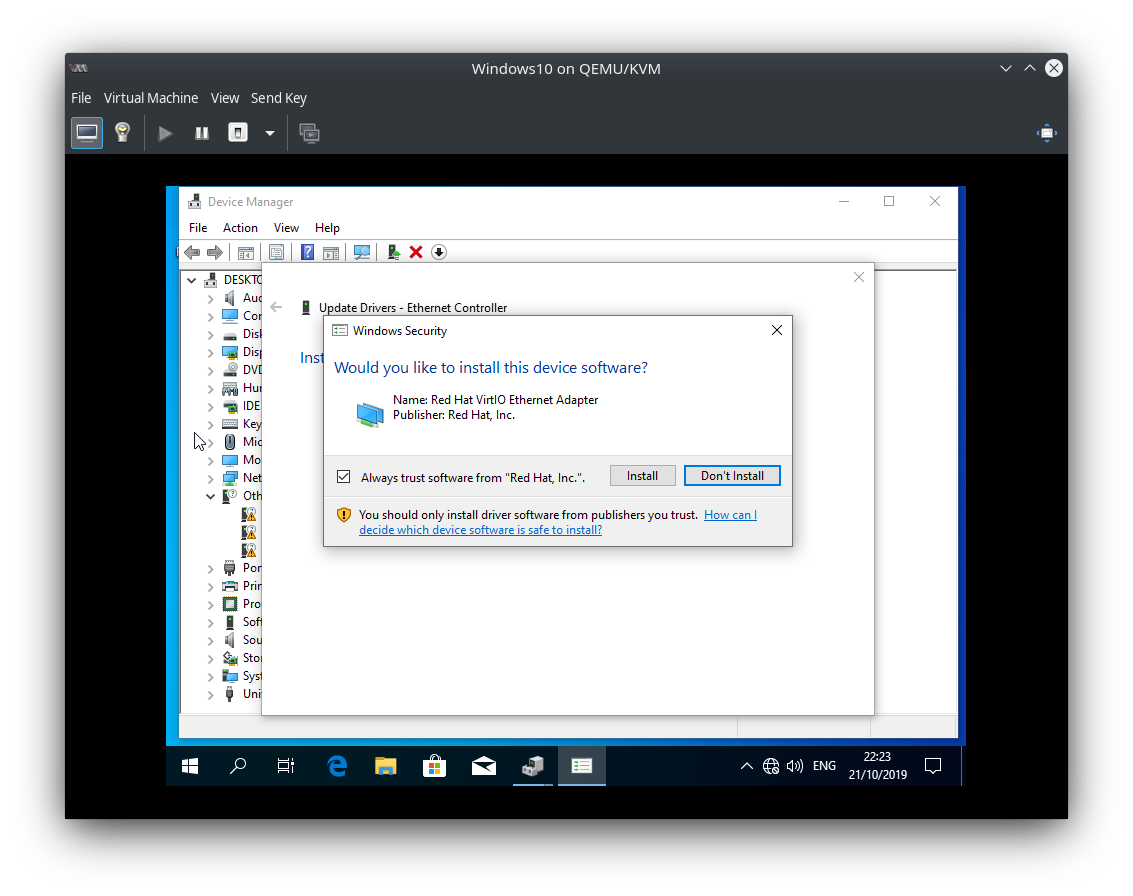
Install the Red Hat VirtIO Ethernet Adapter:
The network was automatically configured via DHCP:
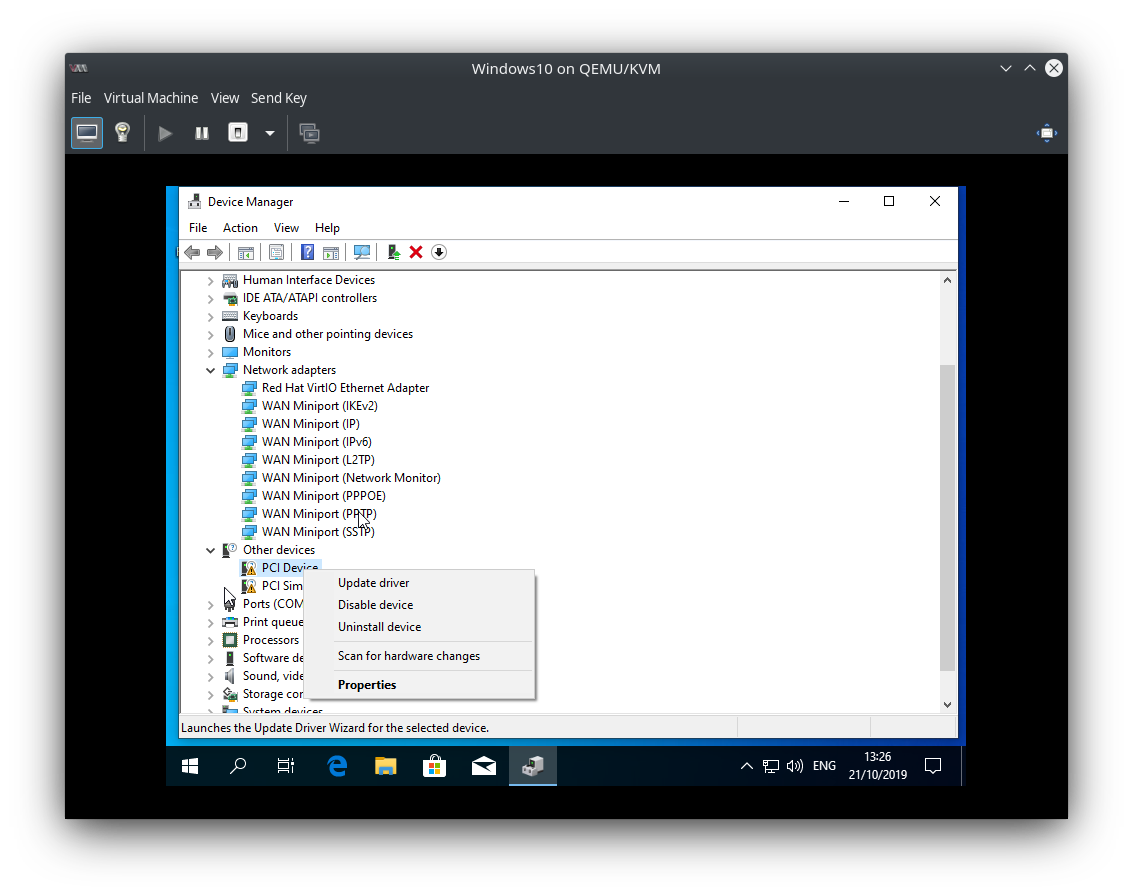
Right click the next PCI Device and choose Update driver:
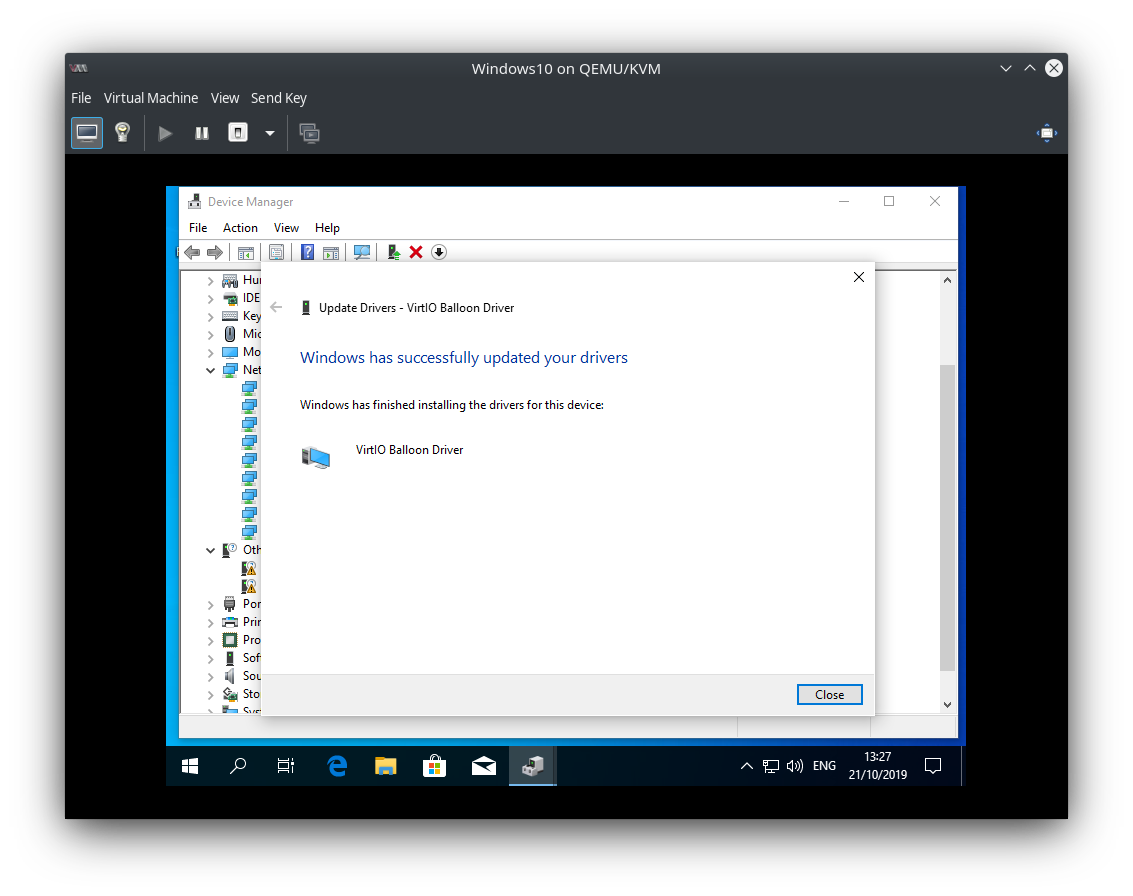
Again choose the CDROM with the drivers. This will setup the VirtIO Balloon Driver. This allows to resize RAM dynamically:
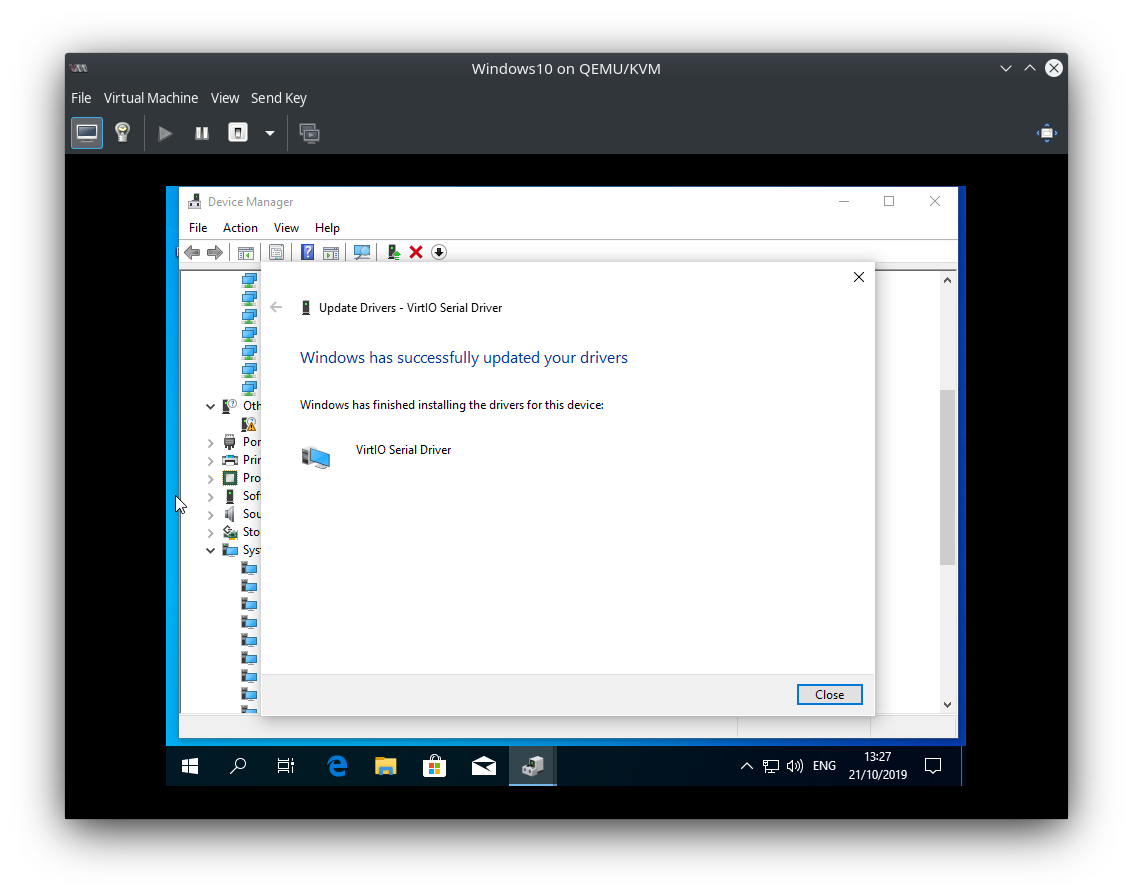
And the same for the last device:
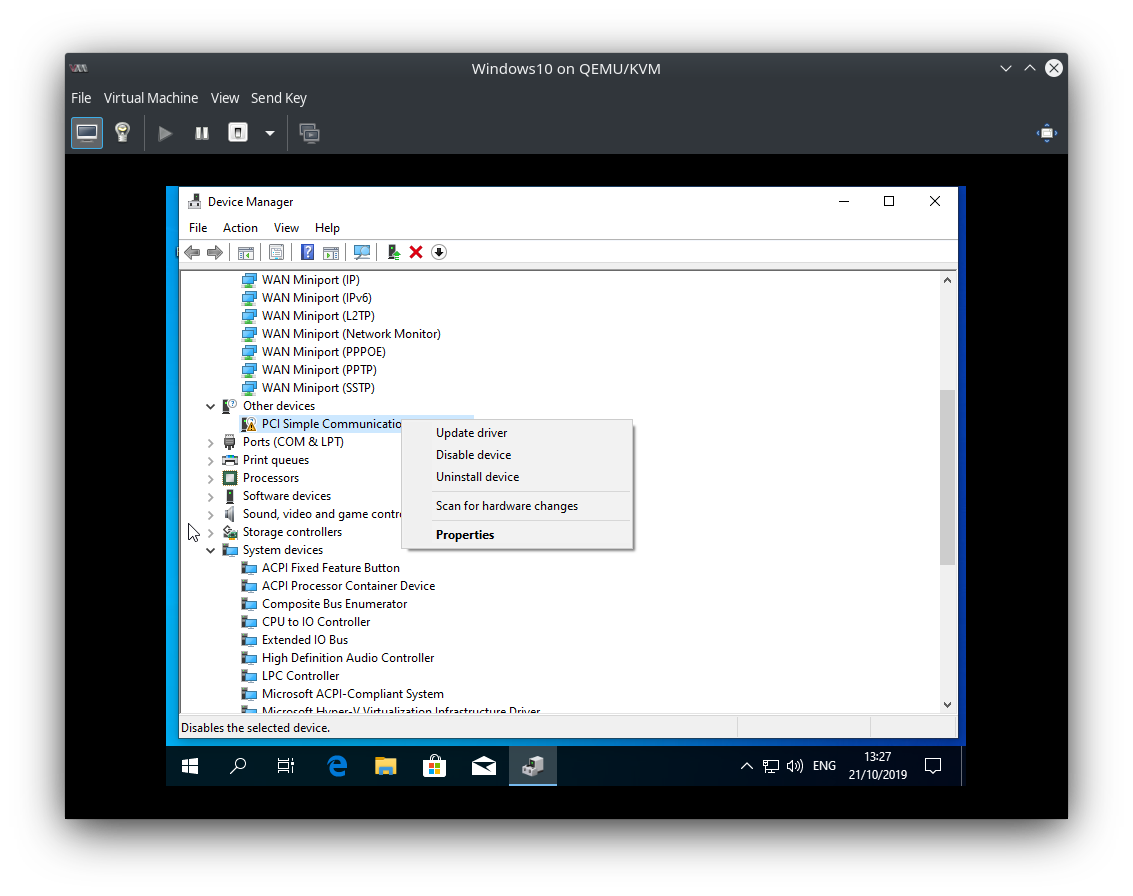
This will install the VirtIO Serial Driver:
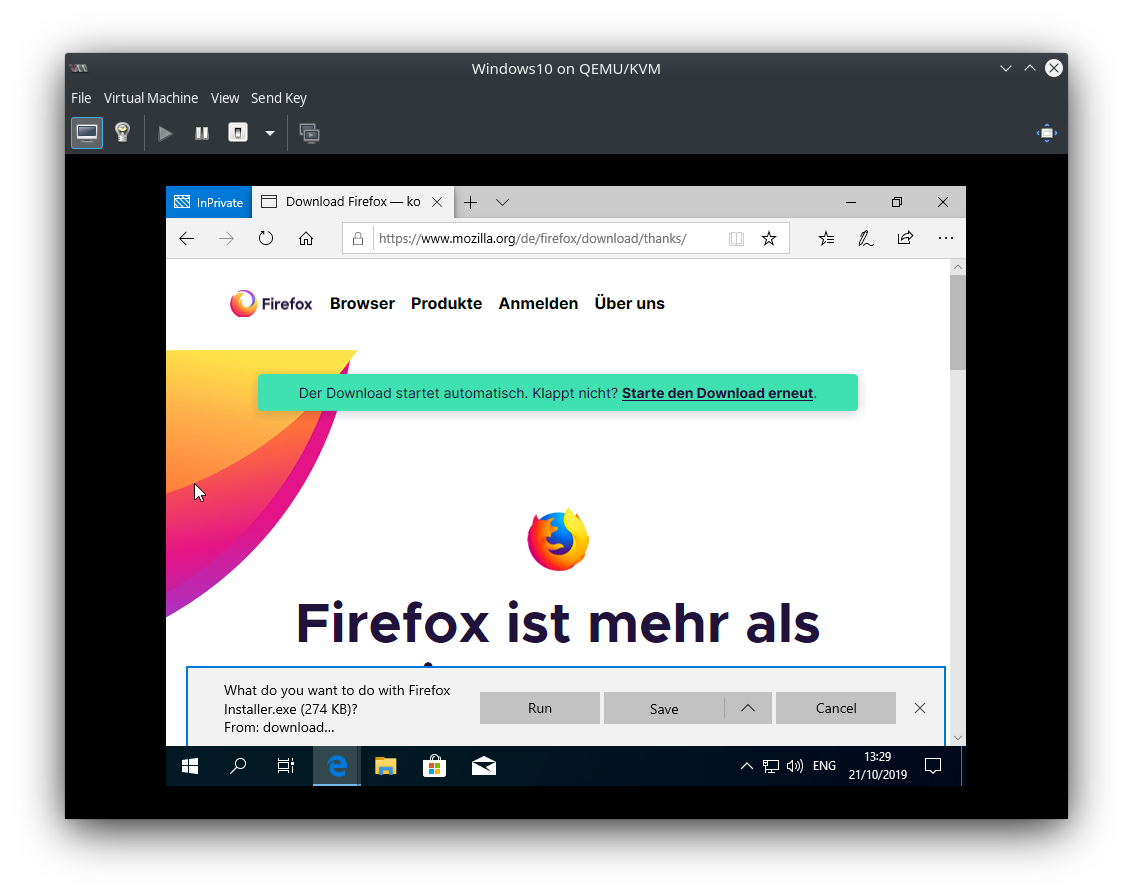
And finally the first and only time I use Internet Explorer is to download Firefox :D :
Now shutdown the VM. Next time we finally setup PCIe passthrough for the Nvidia GPU.